WindPRO manual test: Difference between revisions
| Line 14: | Line 14: | ||
[[Service and Updates]] | [[Service and Updates]] | ||
[[Installation of WindPRO]] | |||
== License activation == | == License activation == | ||
Revision as of 15:54, 20 August 2014
This page is only for internal testing!!!!!
Introduction, installation & activation
WindPRO introduction, license conditions, service
License activation
A license file will be send as an attachment to an e-mail. Please contact EMD, if you change your e-mail address or do not get the license file. The license file will be sent to the primary contact that EMD has on record for each company, which holds a current license. If you are in any doubt as to the primary contact details, please contact EMD for information.
New windPRO users
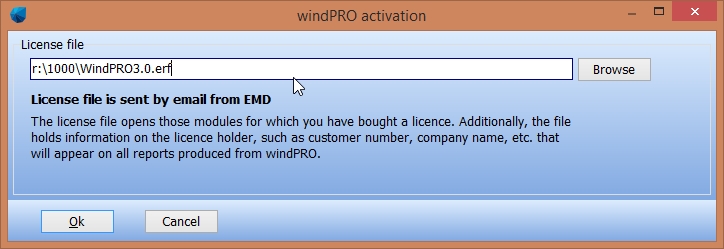
When starting up windPRO for the first time, the program will automatically ask for a license file.
The license file as received by e-mail should be saved on your computer from your e-mail program and selected using the Browse button from the screen above.
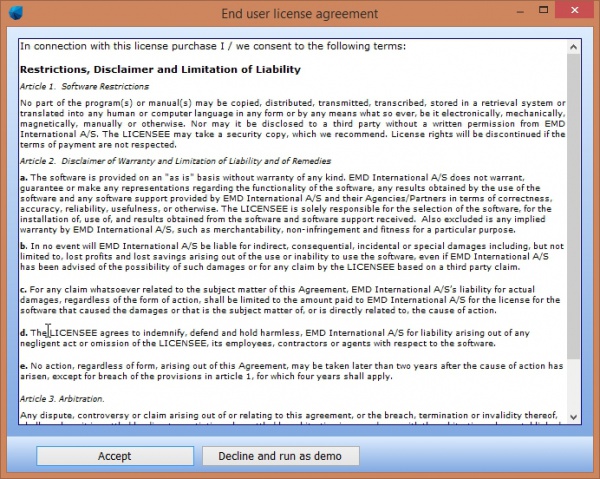
After reading the license file, the End user license agreement must be accepted
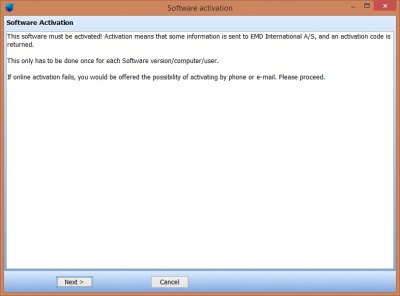
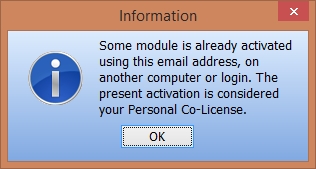
Each user is identified by email address and each user is allowed two installations, for example on an office and a home computer or similar. In order to activate the user must go through the activation procedure.
Press Next to continue the activation process.
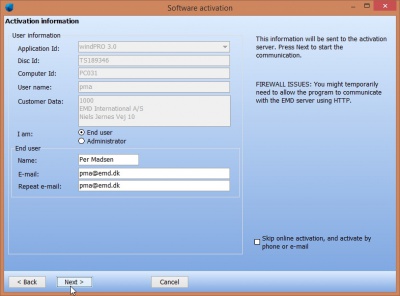
On this screen the data to be sent to the activation server is displayed. The faded texts are read by the software (computer ID, user name etc.).
If you are end-user you fill in your name and email address. A license holder is allowed to use as many email addresses as you have licenses and each email address can be used to activate a license twice.
If you are the administrator you can additionally add your own email address. That will make the activation code come to you instead of the end-user, but the administrator address does not count to the allowed number of licenses.
The “Skip online activation…” option is available for users, who cannot use the normal online activation. Check this to activate by e-mail or phone.
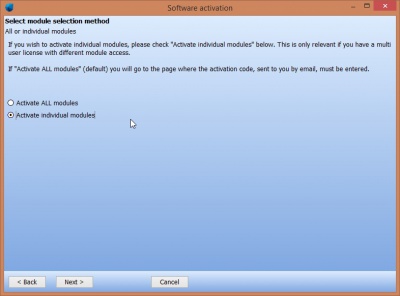
It is possible to buy a different number of licenses for each module. A user who is only going to make visualizations may not need the energy modules, while his or her colleagues may need energy modules but not visualization modules.
If all modules bought by the user should be activated select Activate all modules.
If instead only a selection of modules should be activated then select Activate individual modules.
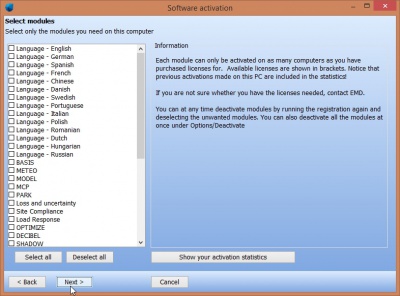
If “individual modules” was selected then you must point out the ones to activate. Note that you always need to activate at least one BASIS module and one Language module in order to run windPRO in non-demo mode.
The list will show you all your available modules. If the module you wish to activate is not in the list then you do not have a valid license for it and you may contact EMD. By showing the activation statistics you can see who are currently using the licenses in the company.
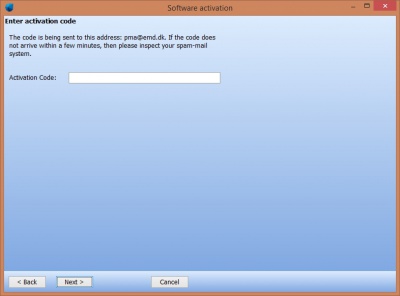
Next step is to enter the activation code. At this stage you will have received an activation code in your email inbox. The code was sent to the email address you typed in previously.
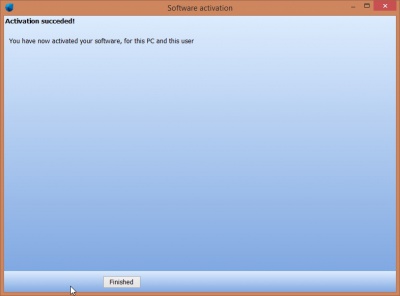
Your license has now been successfully activated.
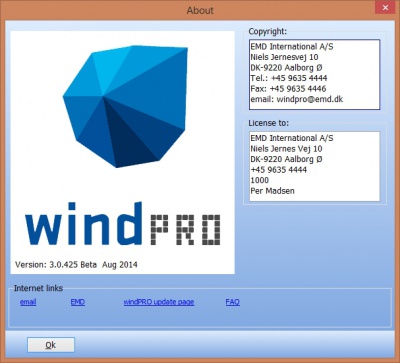
The activation process is concluded by showing you the About window for windPRO on this computer. Here you can see the license information on your organization. This is the information included on all printouts made with windPRO. You can also see your current version of windPRO. If you suspect your version not to be current you can visit the windPRO update page and check if newer versions are available. You can also use the menu item 'Help' and 'Check for updates'
Existing WindPRO users/manual license activation
When an additional module is purchased, license holder info is updated or for some other reasons manual activation is required, please start the license activation this way:
Open WindPRO, click “Options” and then “License Activation”. Follow the procedure as described previously.
License deactivation
If you need to transfer your license to another computer or another user you will initially need to deactivate your license.
Select “License deactivation” from the Options menu.
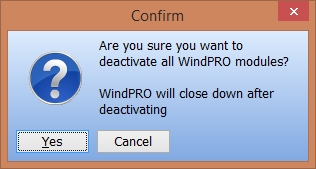
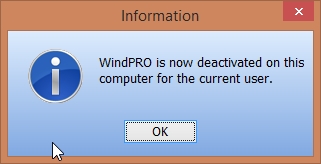
Confirm that you want to deactivate and WindPRO will shut down. The licenses are now released to be used on another computer or by another user.
Note that if you installed on two computers using your e-mail address you need to deactivate both activations before the license is released for another user.
Screen shots
